
As an Amazon Associate, I earn from qualifying purchases with no additional costs for you.
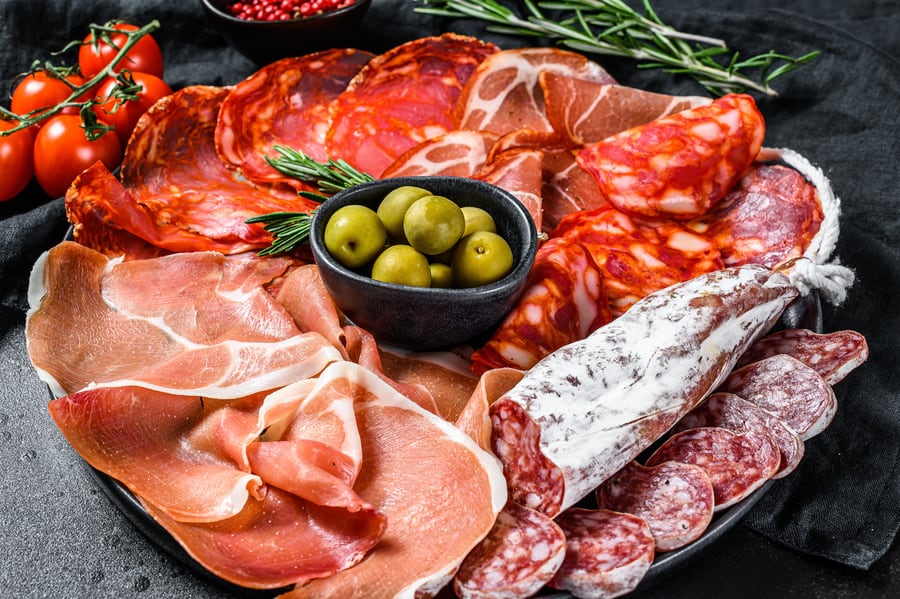
When you get into drying and curing your meats, monitoring temperature, humidity and airflow are as time-consuming and frustrating as it gets. Some have even suggested using a wine refrigerator. Is this possible? If so, what is the best wine refrigerator to cure meat, make prosciutto, and jerky or dry vegetables?
Best Wine Refrigerator for Curing Meat, Prosciutto, Jerky, and Drying Vegetables. The best wine fridge for curing and drying is the NutriChef 15 Bottle Thermoelectric red and white wine cooler. It is inexpensive, allows for up to 10 pounds of meats to be cured at a time, and offers reduced electricity consumption.
The act of “curing” meat refers to any process that helps preserve the meat. That process can include salting, brining, aging, drying, or canning. The underlying goal, regardless of process, is to reduce the rate of spoilage and prevent the growth of harmful bacteria and other microorganisms.
We prefer our meats dried, so that is the method we are going to explore if you like yours cured differently, and there are a ton of resources available online. Believe it or not, a good wine refrigerator can be an excellent tool for drying and curing meats and vegetables.

TIP: If you want to check out the best refrigerator for wine storage, I recommend trying out the Avation (18 bottles) compressor refrigerator with Wi-fi smart app control cooling system. You can find this refrigerator by clicking here (Amazon link).
Best Wine Refrigerator for Curing Meats and Vegetables
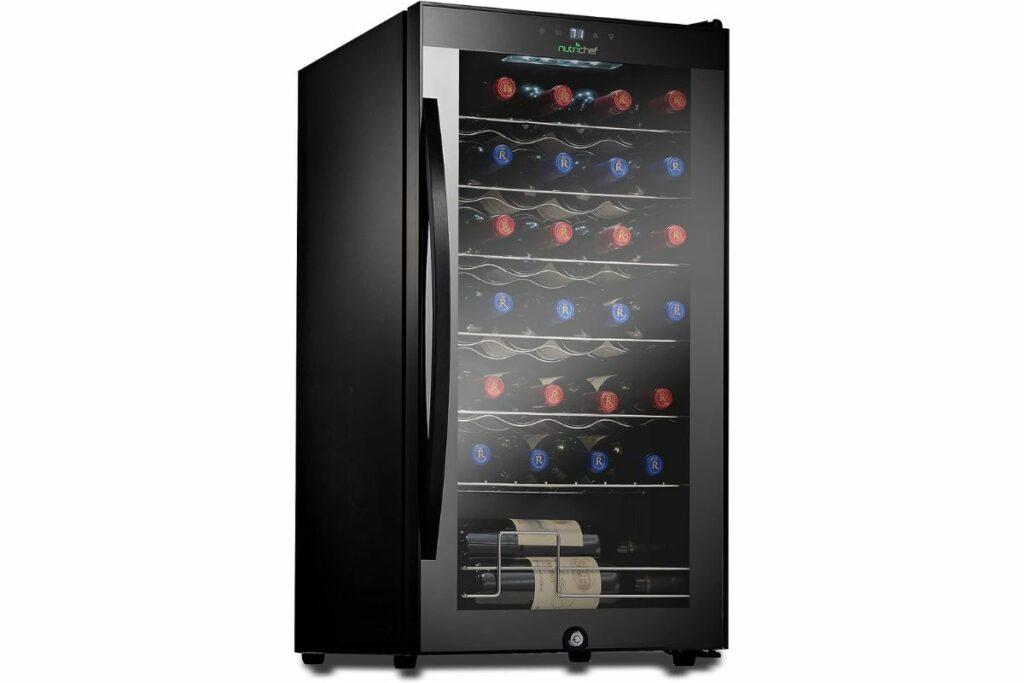
The best wine refrigerator for all the above is the NutriChef 15 Bottle Thermoelectric red and white wine cooler (Amazon link). This wine cooler fridge offers temperatures that automatically hovers in the area of 55°F (12.8°C). Perfect temperature for dry curing meats and vegetables.
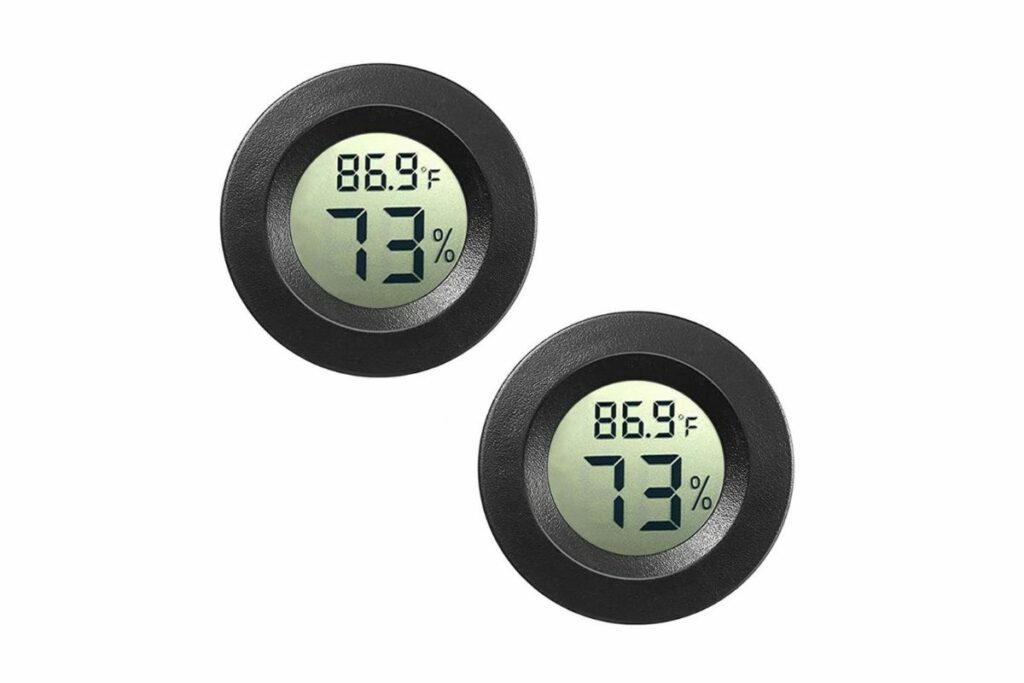
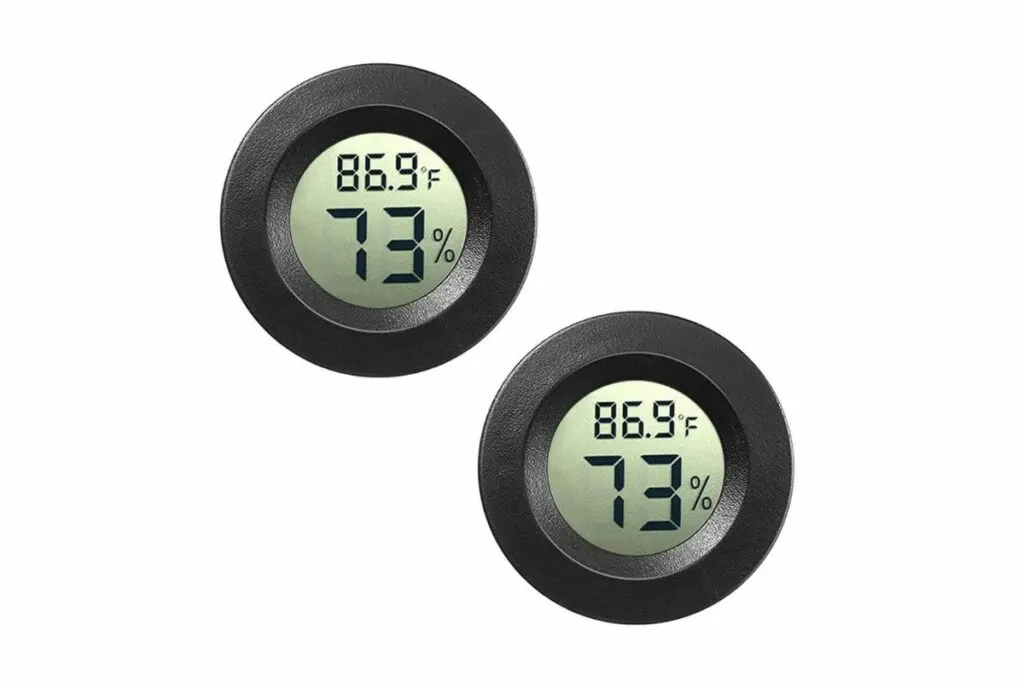
Humidity levels for wine tend to be lower than ideal for meat and vegetable curing. The low-tech solution is to add a bowl of saltwater to the bottom of the refrigerator. The water increase humidity and the salt to continue the drying process. To monitor humidity levels, purchase a hygrometer, or humidity monitor.
A frugal solution is a 2-pack of JEDEW mini hygrometers from Amazon for under $12. These little gems allow you to monitor the internal humidity levels and know when to add more water to the bowl.
This model is big enough to hang about 10-pounds of meat after removing all racks except the top, which can be used to hang meat slices from. Honestly, just about any wine refrigerator will do the trick.
TIP: Most wines go bad once you pop the cork within a day or so. But a Coravin Wine Preservation system (available for a great price on Amazon) can extend the life of your opened wine for weeks or even months. It is awesome. You should check it out to see if it fits your lifestyle.
You are simply looking for one that will maintain the proper temperature and allow adequate room for airflow. We highly recommend avoiding dual chamber models, due to space issues. We also recommend avoiding compression-style wine refrigerators.
The thermoelectric models are less expensive to use and consume less electricity. Remember, this thing is going to run for months at a time during your food.
As a drawback, the thermoelectric models do require more clearance between themselves and adjacent obstacles like walls to achieve optimum cooling.
There are even adaptations you can do to modify a mini-fridge or dorm refrigerator to act as a curing chamber if you don’t have a wine refrigerator or choose not to invest in one. There is more to “curing” your meats than simply hanging them in your wine fridge and waiting.
Recommendation box: Everything you need to enjoy your wine as much as possible. All recommended products are personally tested and regularly used by experts from this website (Amazon links):
> Ivation Wine Cooler – Energy-efficient wine cooler for 18 bottles with Wi-fi smart app control cooling system.
> Wine Rack – Beautiful, elegant wood rack for up to 7 bottles and the choice of vertical or horizontal storage.
> Durand Wine Opener – Classic vintage wine opener (we like all these classic staff).
> YouYah Iceberg Wine Decanter – The most beautiful and handy wine decanter we personally use.
> Bormioli Rocco Wine Glasses – A set of eight elegant and traditional wine glasses made in Italy.
> Vintorio Wine Aerator – Simple but really useful wine aerator for a reasonable price.
> The Original Vacu Vin Wine Saver – The best wine saver on the market in a package with two vacuum stoppers and two wine servers.
And if you want to become a true connoisseur of wine, we recommend reading the book Wine Folly: The Essential Guide to Wine (Amazon link), where you will find all the information you need about winemaking, wine varieties, flavors, and much more.
Wine Fridges: Process of Curing Meats or Vegetables by Drying

The process of curing meats consists of 4 key components:
- Temperature
- Humidity
- Airflow
- Time
Each component is critical. Failure to adequately address any single component will leave you with a stinky, spoiled mess and a much lighter pocketbook.
Temperature
The ideal temperature for curing meats by drying is between 50° and 60°F (10° to 15.6°C). Temperatures above 60°F create a breeding ground for the type of bacteria we want to avoid.
You know, the type that spoils your meat, rather than curing it. Temperatures below 50°F slow the water activity within the meat, causing the drying process to slow and become less effective.
Humidity
The ideal humidity levels for curing meats by drying lie between 70% and 75%. Meat, which is a muscle in case you didn’t know, is 75% water.
You would think dropping humidity to much lower levels, say 30%, would cause the meat to dry quicker and reduce curing times. Speaking from experience, you’re wrong.
Dropping humidity levels below 70% causes the exterior of the meat to dry quickly. However, the interior remains moist. That dry outer layer doesn’t allow for the moisture contained in the interior to evaporate, causing… spoilage.
Humidity levels above 75% increase microorganism activity, primarily in molds. Should mold develop and is not a white mold, you can remove it with a swipe of vinegar. However, if the mold has been present for very long, just throw the meat out and start all over. You’ll be glad you did.
TIP: Learn how to control the humidity in your wine fridge with this guide. If your fridge stops working, read this article to find out the most common reasons and how to fix it.
Air Flow
Airflow is fundamental in the drying process. It provides 2 critical functions.
- Pulls moisture from the meats you’re curing
- Keeps bad mold spores from your meat by reducing moisture adjacent to that meat
You need sufficient airflow between and around your meats to achieve both tasks. Some wine coolers work great for producing good airflow for meat curing.
Time
In the dry-curing process, time is not measured in how many days/weeks you let the meat cure, but in weight. You are looking for a weight loss of 30% from the time your meats go into a drying chamber until they are cured and ready to enjoy. Depending on the size of the slices, this could take 2 weeks to a few months.
TIP: This guide explains the best California-approved wine fridges. Find out how much a wine refrigerator costs in this article.
Curing Meat Steps & Wine Fridge Applications


Your first step needs to be identifying what you want as an outcome. Want prosciutto? Jerky? Knowing your goal determines the next several steps and how it applies to using a wine fridge.
TIP: Do you know the difference between a wine refrigerator and a wine cooler? Read this article to find out. Are wine fridges expensive to run? This guide provides a cost breakdown.
Regardless of what type of meat you choose, be it pork, fowl, or beef, you want a good lean cut. It needs to be properly trimmed to remove ligaments, tendons, and gristle.
Some proponents prefer it left “on the bone” and others adamantly insist the bone be removed before hanging. This depends on your preference.
You will want to trim off unnecessary fat from the meat. First, the fat turns rancid quite easily, and second, it holds a lot of liquid, which you don’t want.
The next step most curing experts recommend is “bleeding” the meat. You want to remove all the excess moisture you possibly can before the meat is hung.
Most aficionados agree that salting the meat, before hanging it, improves the curing process. To do so, simply press your meat into a container of salt, being certain it is coated on all sides. If you are planning on adding any herbs or seasonings to the meat, this is the time to do so.
Cover and place in your wine refrigerator for 2-4 days, turning midway through and continuing to make certain all surfaces are covered. The salt will help desiccate the meat, pulling moisture from within it.
Remove from the refrigerator. If there is too much salt for your taste, you can choose to lightly rinse it. If you do so, you need to leave the meat airing on a wire rack for at least an hour before hanging it.
Next, you need to hang the meat. For small things like duck, you can simply pierce the skin and run twin through it, literally hanging it.
For larger pieces, you will want to bind the meat together with string or twine. In this fashion, you can also encourage specific shapes, to make it easier to cut once the curing process is complete.
Don’t Forget This Important Tip
Before you put that meat in the wine fridge or drying chamber, weigh it. Write that weight down and post it right on the chamber. You’ll know your meat is fully cured once it has lost around 30% of its total weight.
To help with my math-challenged friends out there, take the initial weight, say 7 pounds, and multiply by 0.3. Your answer is 2.1. You need to lose around 2 pounds of water weight. 7 – 2 = 5. Your completed cured weight should be close to 5 pounds. Not complicated at all.
Drying Vegetables
When drying vegetables, it is important to start with the best, freshest vegetables you can find. You seriously don’t want to initiate this process with anything less. Cut that beautiful veggie into the size and shape you prefer. For slices, keep them fairly thin to reduce drying time.
The next choice you have is to blanch or not to blanch. We recommend blanching. It ensures a fresher flavor. Just be sure to let them dry out after blanching
Finally, put those slices in your wine refrigerator and wait. You’ll know the vegetables are ready when they snap, rather than bend. How long that takes is dependent on the type of vegetables, how it’s sliced, dimensions, and so forth. The snap test is the best method imaginable.
Final Thoughts: Curing Meat & Drying Veggies in a Wine Fridge
There are many ways in which you can use your wine fridge to cure meats, make prosciutto or jerky, or even dry vegetables. None are particularly difficult, but all have a heavy time investment. Bon Appetit!
TIP: Check out this page for a complete list of wine products and accessories I love. You’ll find my recommendations for wine refrigerators, decanters, and aerators and the best place to buy wine online. Click here to see the complete listing.